





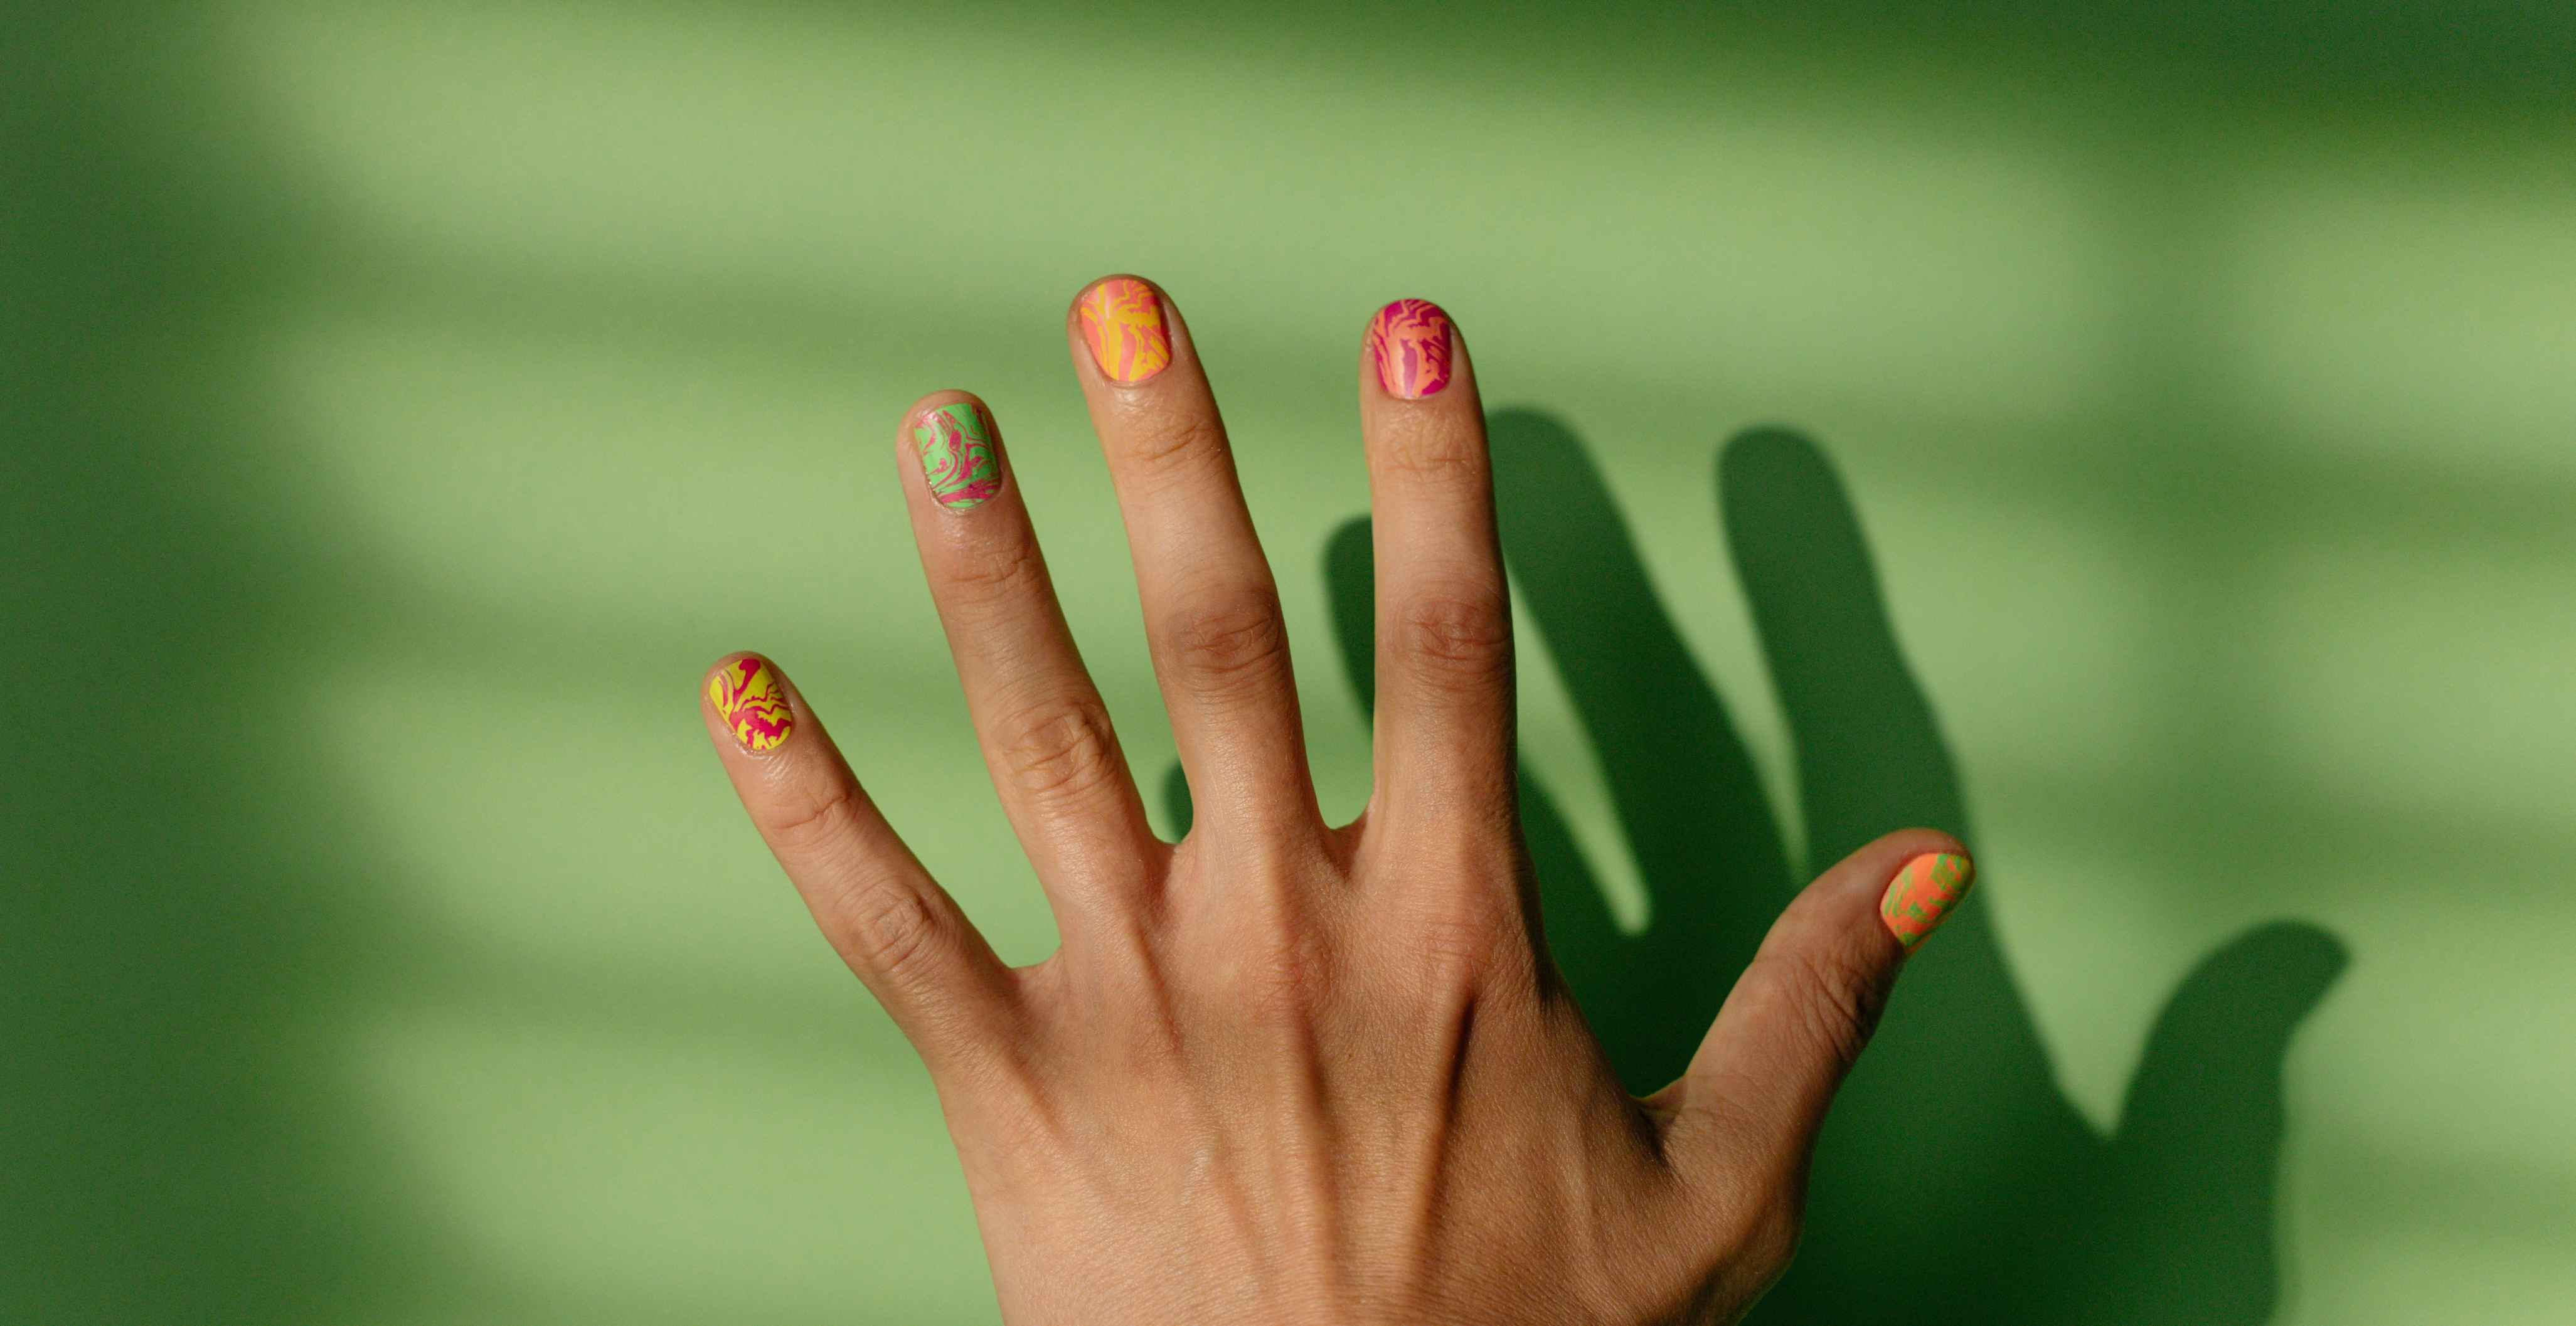
Gel nails at home: how to make a long-lasting manicure?
Want to get a gel manicure at home to avoid a trip to the salon? Long-term nail polish at home is no different from a nail salon. If you have the right equipment and the patience to learn, it will be quite enjoyable. Will it work? Yes, of course...but only if you know how to do it right!
Is it worth doing gel nails at home?
A regular manicure routine at home helps keep nails healthy and strong. This can be the best opportunity to learn and master the art of gel nail polish. Long-term nail polish at home is really useful:
- Economical: when doing gel nails at home, you only need to worry about the cost of purchasing products and equipment, not the cost of additional services.
- Time saving: getting a gel manicure at home eliminates the need to travel to the salon, saving you time spent driving to and from the place.
- Creativity: creating unique gel nail polish styles lets you experiment with color and design ideas to create the personalized nail art you've always wanted to try.
What is needed for a gel manicure at home?
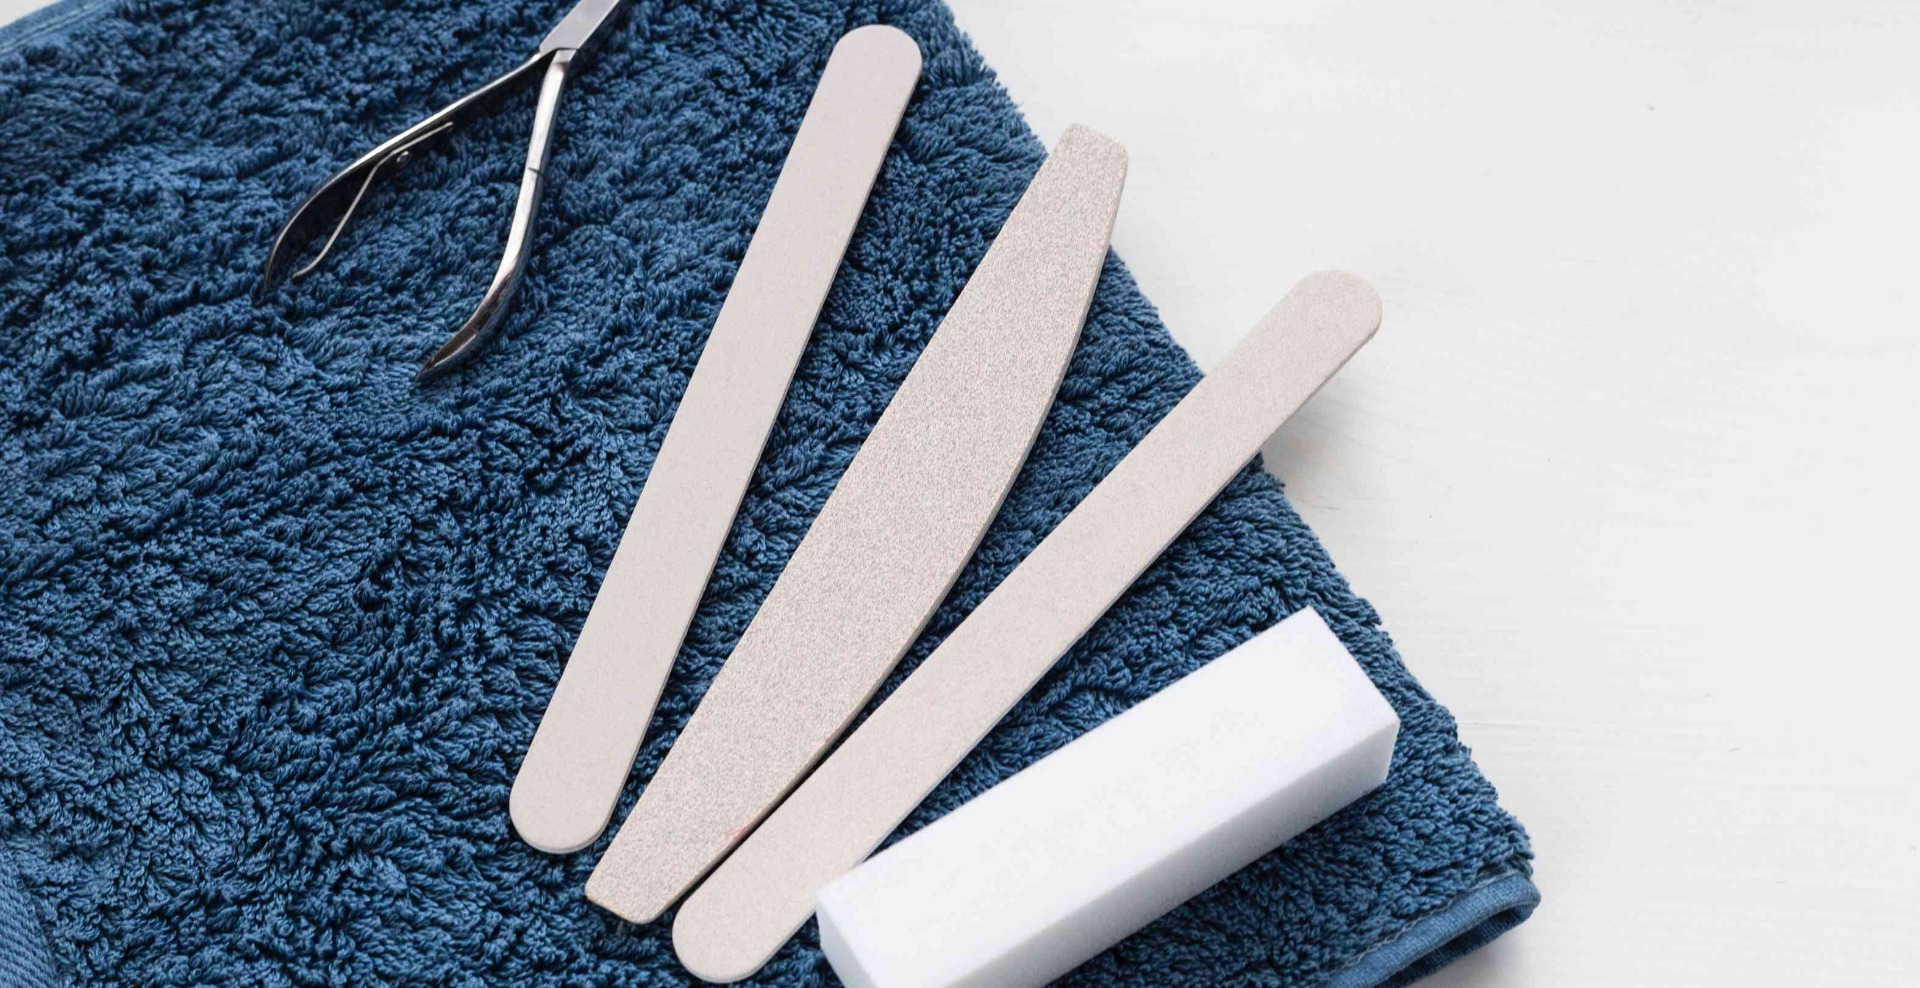
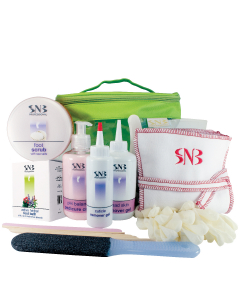
Gel nail polish differs from the traditional nail polish procedure in that no equipment is required. When using gel polishes, you will need to purchase a gel manicure set in order to properly apply the gel polish. Everything you need to create a solid gel manicure at home:
- UV LED lamp.
- Nail files.
- File buffer.
- Cuticle oil.
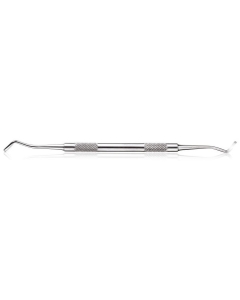
- Wooden or stainless steel cuticle pushers.
- Nail cleaner.
- Gel polish base.
- Top layer for gel polish.
How to do your own gel nails at home: 8 easy steps
Now that you know what you need for a gel manicure, here's a simple, step-by-step guide on how to do gel nails at home.
1. Prepare your nails
It is very important to properly prepare the nails before the entire gel polish process, as it cannot be done after the gel polish. If you tried, you would immediately ruin the gel manicure.
Prepare your nails as follows:
- Nail Trimming - Use a clean nail clipper to trim extra long nails and keep them even.
- Shaping – You don't need anything but a file to shape your nails. With its help, shape the nails in the desired shape: round, pointed, square, almond, oval, etc.
2. Apply cuticle oil
Cuticle oil helps soften the cuticles easily before they are pushed out, so a larger area of the nail plate can be varnished. Apply a drop of cuticle oil, massage the nail, then gently push the cuticles back with a cuticle pusher or wooden stick.
After applying the cuticle oil, be sure to wash your hands thoroughly to avoid getting the oil on your nails. This is an important step. Any oil you leave on can cause the gel polish to peel.
3. Buffer the surface of the nail
Prepping the surface of your nails is very important to make your gel manicure last longer. For best results, be sure to roughen your nails with a buffer file before applying polish.
Use the roughest part of the buffer to gently buff the surface of the nail by running the buffer from the top of the nail to the edges. Due to the abrasiveness of the buffer, do not overdo it, as you can easily thin your nails. Continue polishing until your nail plate is no longer uneven.
4. Clean your nails with a nail cleaner
Polishing leaves a lot of dust that can interfere with the gel. Fortunately, you can clean the nail from traces of dust with nail cleaner. This is really easy to do, but it should also be done carefully.
After washing your hands with warm water and hand soap, gently dry them with a soft cloth. Then pour the cleaner on a cotton pad or, better yet, a sheet of cellulose and gently wipe the nail of each finger. Make sure no cotton balls stick to the nail plate. If so, just remove them.
The cleaner usually dries quickly, so you don't have to wait long for each fingernail to dry. Repeat the same process with the other fingers so that the nails are dry and clean, oil-free, ready for the first coat of gel.
5. Apply the base
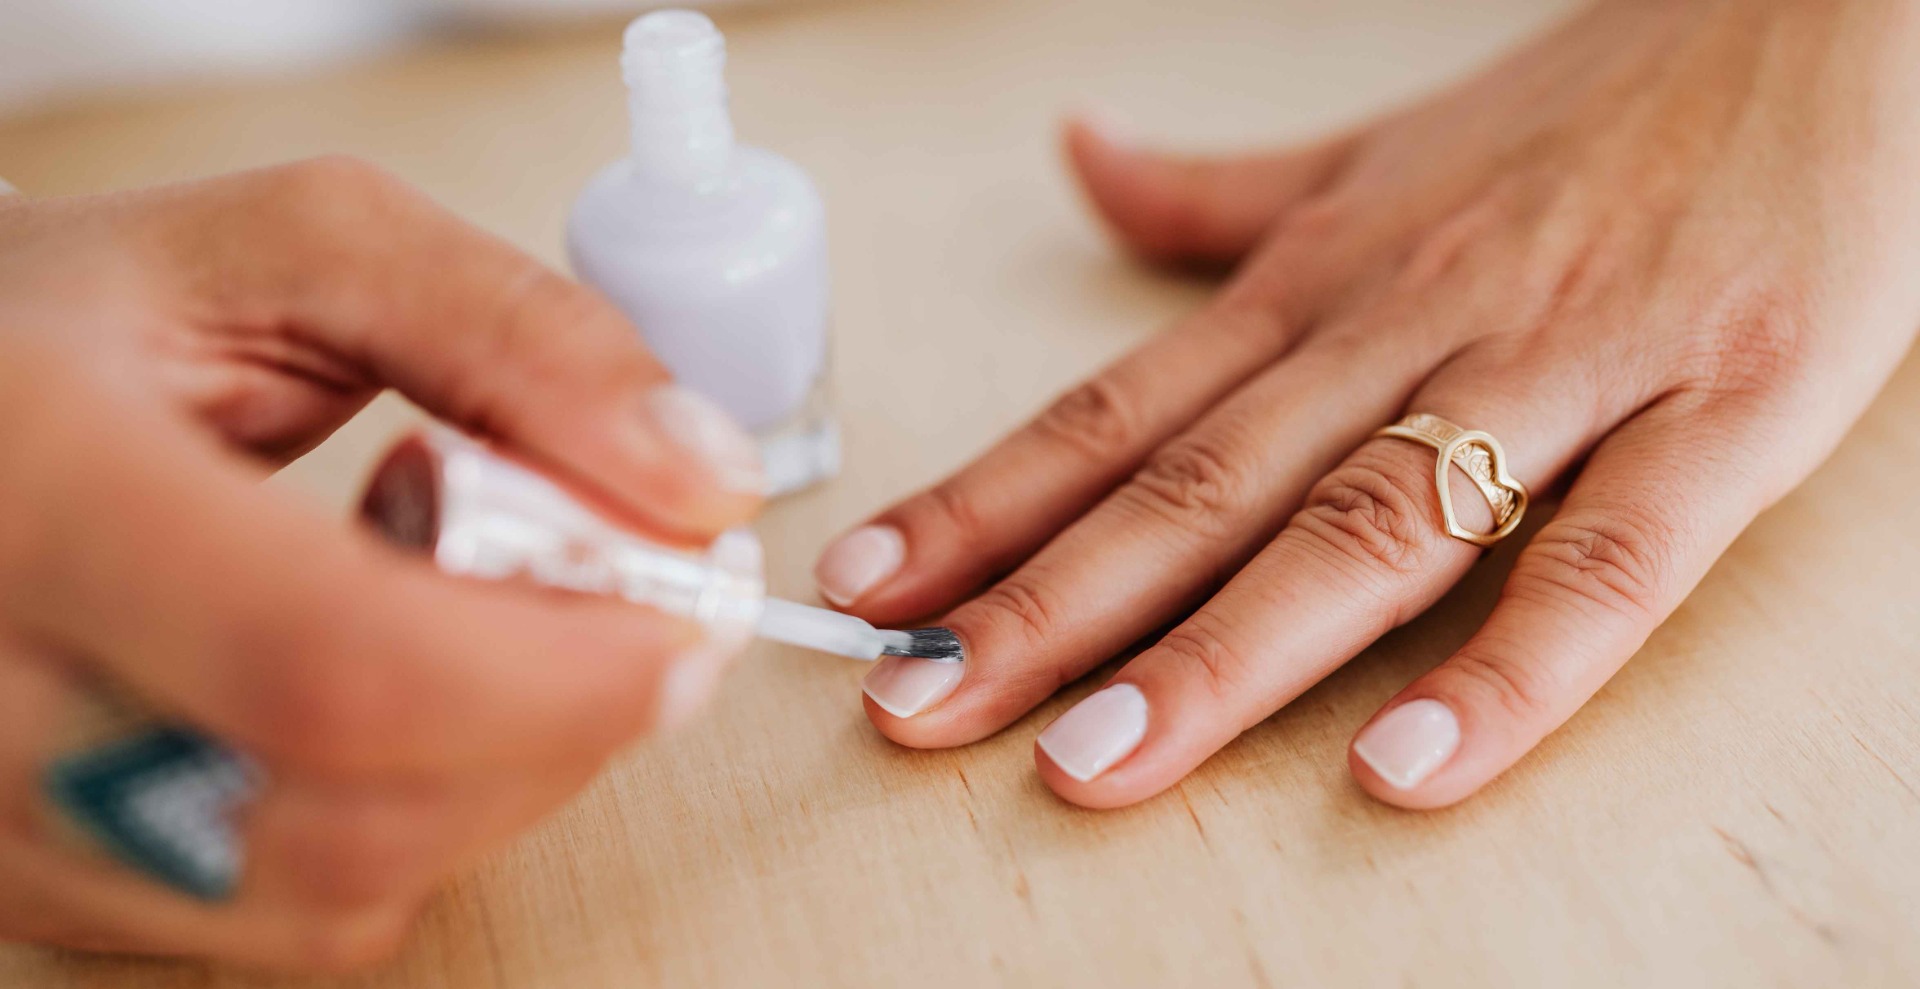
You can't skip this crucial step of applying your base coat. Without a base layer, colored gel polish simply won't stick to the nail plate.
Apply a thin layer of base. Make sure it is applied evenly over the entire nail. Otherwise, when you apply the colored gel polish, there will be a gap where the gel polish will not stick. After applying the base coat, dry your nails under a UV LED lamp for about 30 seconds. This duration varies depending on the lamp used.
The gel base layer should be tacky after curing. It is a mistake to think that the base coat should feel dry after curing.
6. Apply colored varnish
After the base coat has set, it's time to start the fun part - applying the color.
Carefully apply a thin layer of gel polish without touching the cuticles. Make sure you apply the gel polish evenly on all your fingernails.
Sometimes manicurists polish the entire hand before drying it under the lamp. Sometimes manicurists varnish and dry each nail individually. All methods are good, it depends on your choice. Regardless of when you choose to dry your nails, you should cure the nail according to the time indicated by the UV LED lamp. If not specified, the default time is 30 seconds.
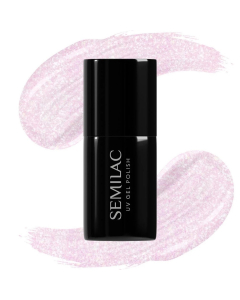
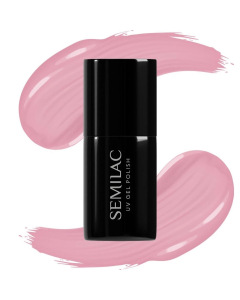
If you want to save time and make the varnishing process easier, use Semilac One Step 3in1 long-lasting gel polish. You won't have to buy the base and top coat separately and you'll double the speed of the procedure.
7. Apply the top coat
Applying a top coat ensures that all your manicure and art work remains protected.
Apply a clear top coat over the colored gel polish, carefully brushing over the tips of the nails as well. This is a little trick to make your nail polish color last much longer. After that smooth the layer and cure with the UV LED lamp you used earlier.
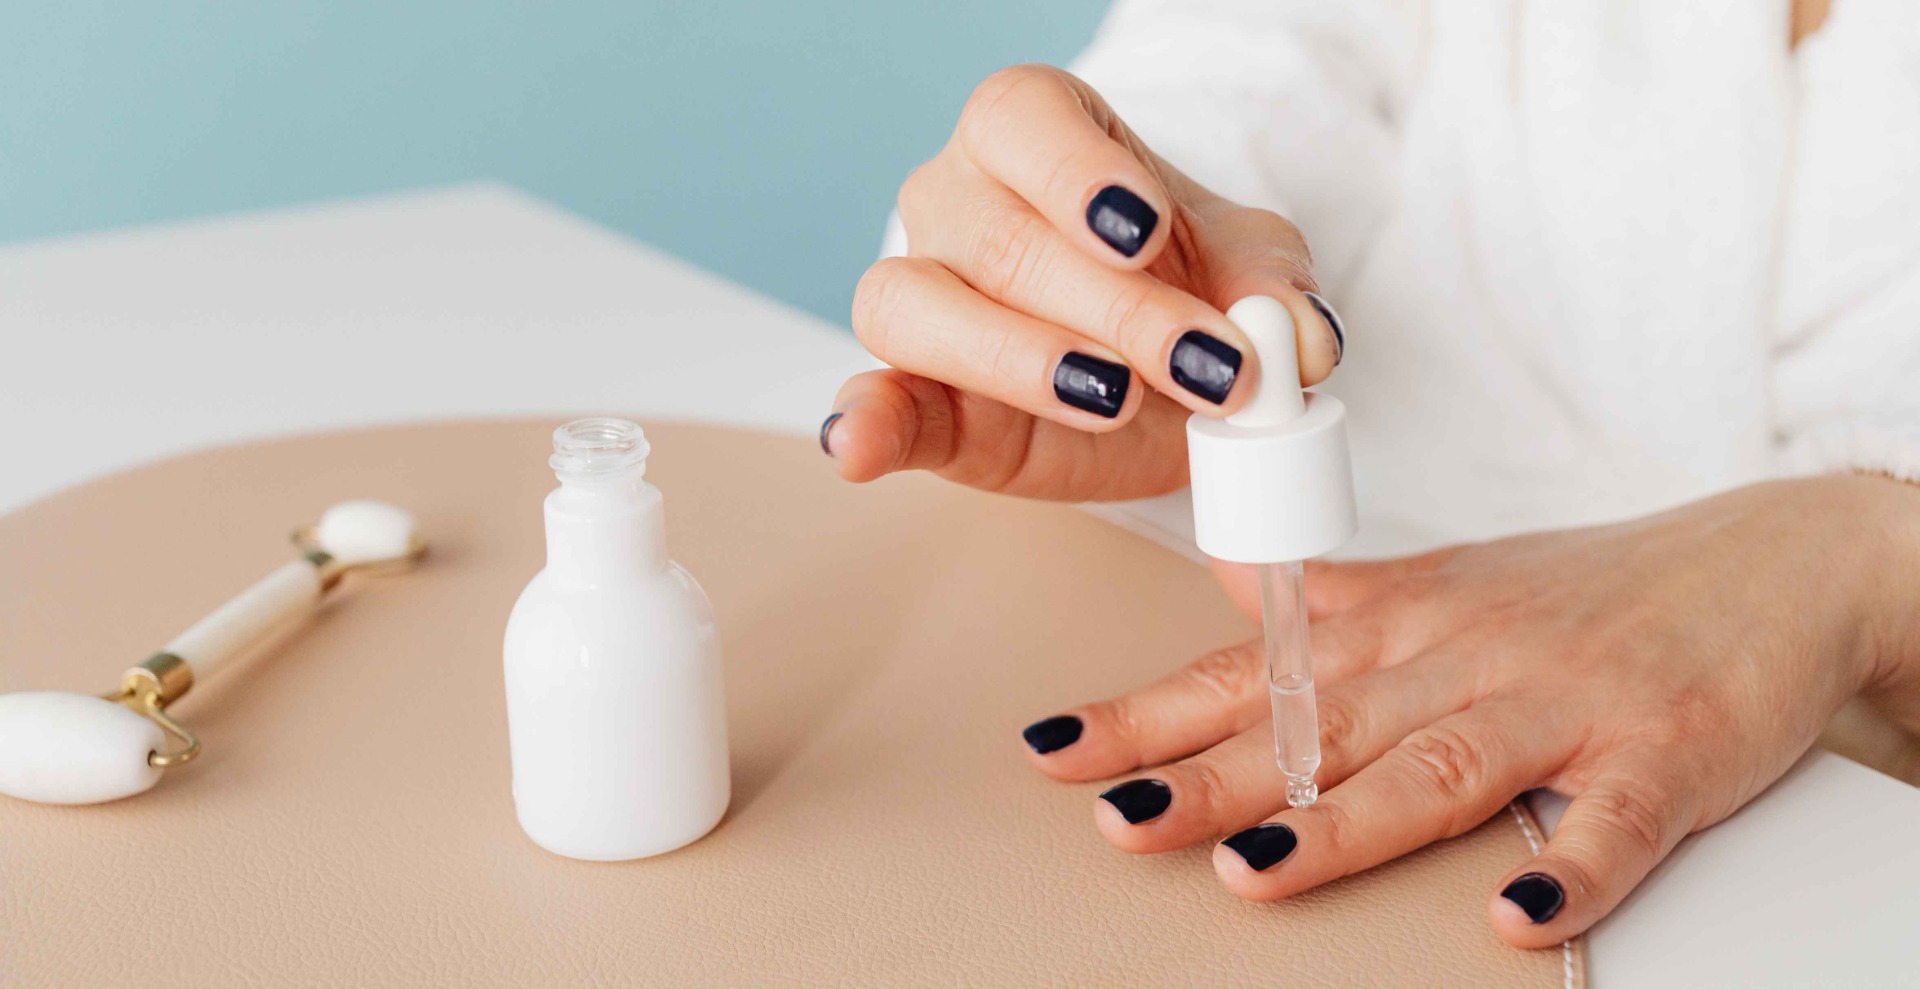
Add a few drops of cuticle oil to give your nails and cuticles the perfect hydration and finish.
8. Further nail care
Massage cuticle oil around the nails and cuticles to occasionally nourish the skin, prevent cuticles from drying out, and keep them healthy. Remember that when you wear gel nails, hot water is not your best friend because it lifts the polish faster. Avoid hot water if possible.
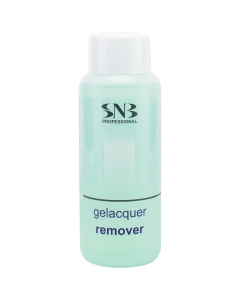
How to remove gel nail polish at home?
Even with the best gel polish removers, it's always a good idea to go to a salon for professional help to minimize the chance of damaging your nail plates.
Acetone's nail polish-dissolving properties make it one of the best nail polish removers out there. However, acetone often removes a lot of natural oils and bleaches the skin, so soak your nails in acetone for no more than 15-20 minutes. Regardless, it's still a good gel polish remover. To use it, you have to settle for one of two options: file the top layer of the nail and soak it in acetone, or soak a cotton pad in acetone, place it on the nail and wrap it in foil. In any case, the varnish will be removed within a dozen minutes.
Safety measures for handling and varnishing gel nails at home
- Always work in a well-ventilated area: gel nail polish releases vapors that can be harmful if inhaled. Reduce their exposure by working in a well-ventilated area, such as near an open window or in a room with a fan.
- Wear gloves: Gel polish can irritate the skin, so it is advisable to wear gloves when working with it. This will also help prevent the polish from staining the skin.
- Avoid contact with eyes: Be careful not to get the polish in the eyes, as this may cause irritation. If this happens, immediately flush your eyes with plenty of water.
- Keep equipment clean: Clean tools (nail clippers, cuticle pushers, nail files) with alcohol or soap to prevent the spread of bacteria.
- Don't over-file your nails: Over-failing your nails can damage them and make them more susceptible to infection. When filing nails, press the file gently and do not file them too often.
- Follow the manufacturer's instructions: Each brand of gel polish has its own instructions, so be sure to read them carefully and follow them. This will help you achieve the best results and avoid safety issues.
- Use a high-quality gel polish: Choose a gel polish from a reputable brand, like Semilac, which is known for its quality and safety. Cheap or low-quality polishes may contain harmful chemicals or be prone to chipping and peeling.
The information below is required for social login
My Account
Register